
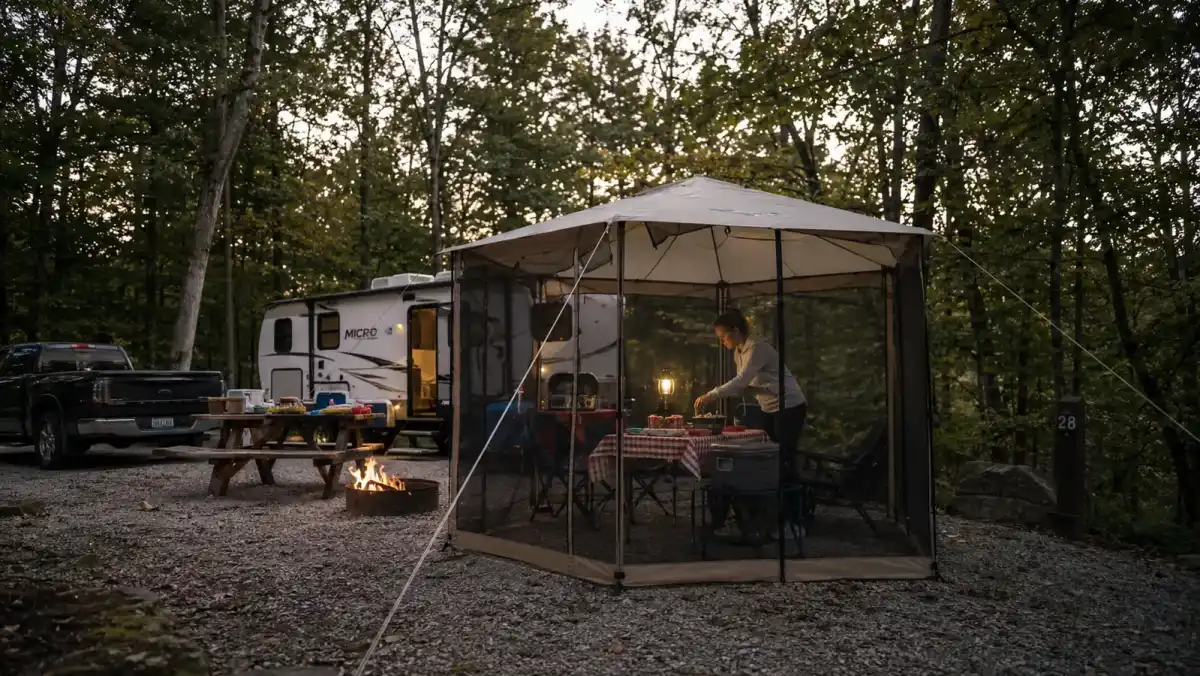
I have seen more collapsed screen houses on my loop than I can count, and I do not mean crumpled from age. I mean the ones that leave the ground while a family is still setting out plates for dinner, catch a gust broadside, and cartwheel across two or three occupied campsites before somebody tackles it or it wraps itself around a fire ring. Nobody expects a shelter to become a hazard to their neighbors, but an unstaked screen house canopy in open wind is exactly that, and I watched it happen at my Ozarks state park more times in nine seasons than I want to admit.
This guide is not a review. I have a full write-up on the Alvantor Pop Up Screen House Tent after a season of watching it and using it myself, and a shorter list of reasons a screen house earns its space in your truck bed if you're still deciding whether you need one. What follows here is the actual setup, the part most product listings skip past in a single sentence: staking, guying, wind, uneven pads, and the fold-down back into the bag that stumps almost every camper I've ever watched try it for the first time. I'll use the Alvantor as the example because it's the pop-up style most campers on my old loop actually owned, but these steps apply to any pop-up screen house with a spring-loaded frame.
Don't want to guess at pole angles the first time you pitch this thing?
The Alvantor Pop Up Screen House Tent pops into its full dome shape in under a minute, before you ever touch a stake. The steps below are what turns that minute into a shelter that's still standing when you get back from the shower house. Check today's price on Amazon before your next trip.
Amazon Check Today's Price on Amazon →Step 1: Pick and Clear Your Site Before You Unfold Anything
Before the frame ever leaves the bag, walk the pad you're about to use. I checked roughly forty campsites a night for nine seasons, and the screen houses that stayed up were almost always the ones pitched on the flattest ten by ten square available, not wherever looked closest to the picnic table. A slope of even a few inches side to side puts uneven tension on the frame legs the second you stake it, and that tension is what eventually pops a leg loose in wind.
Clear the pad of rocks, pinecones, and root humps you can feel through your boot sole, because those will show up as pressure points under the floorless canopy and can wear a hole in the mesh over a season. While you're at it, check which way the smoke from your fire ring, or a neighbor's, is drifting. That's your wind direction for the day, and it matters, because you want to orient the screen house so its lowest, most reinforced panel faces the wind, not a doorway.
Look up too, not just down. A screen house frame is tall enough to catch a low branch or a dead limb hanging over a pad, something I flagged on walkthroughs constantly, and a peak panel rubbing against a branch all week will wear through faster than any amount of ground abuse. If the only flat ten by ten on your site sits under a low canopy of its own, it's worth backing the frame a few feet off center to clear it rather than assuming the tree will behave itself in a storm.
Step 2: Pop the Frame and Square the Corners
Pop-up frames like the one on the Alvantor work off spring-loaded fiberglass poles, and the instinct most people have is to yank the bag off and let it explode into shape. Let it, that part's fine, that's what it's built for. But the second it's up, walk all four corners before you do anything else and pull each one out until the roofline sits flat and square rather than twisted like a parallelogram. A twisted frame concentrates stress on one or two corners instead of spreading it across all four, and that's usually the corner that gives first.
Get the corner feet flat on the ground with the leg roughly vertical. On a level pad this takes seconds. On a pad with any slope, you may need to compress and reset one or two legs to get all four feet planted evenly. Don't skip this because the top looks fine, the top will always look fine right up until it doesn't.
Step 3: Stake and Guy It Out Before You Do Anything Else
This is the step almost every guide buries at the end, after they've told you about the mesh doors and the UV coating, and it's backwards. Stake and guy the frame the moment it's square, before you unpack a single chair or start the stove. I have watched an unstaked screen house sit calm for twenty minutes and then take a gust off the ridge and go airborne, corner over corner, straight through a neighbor's site with kids playing twenty feet away. It is not a rare event. Loop B backs up to open ground, and I'd guess I saw it happen eight or ten times a season, always in the gap between setup and staking, never once with a shelter that was already pinned down.
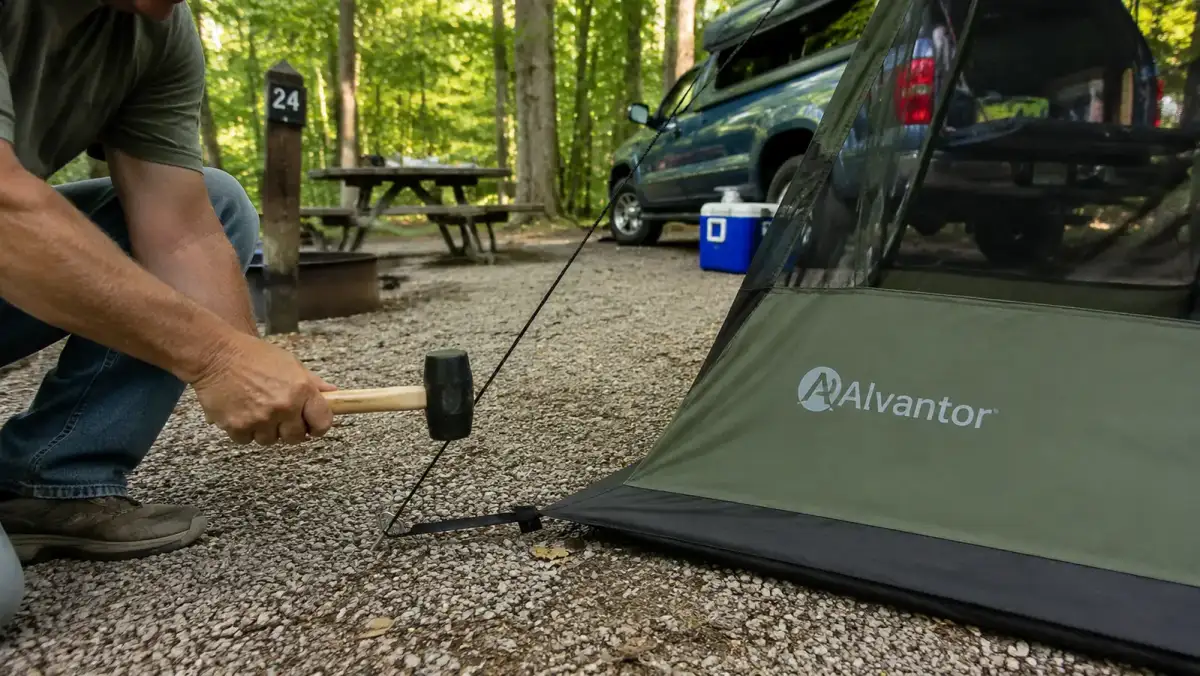
Use all the stake loops the frame gives you, not just the four corners. The Alvantor has loops along each side panel in addition to the corners, and skipping the side loops is the single most common shortcut I watched campers take. Drive stakes at roughly a 45 degree angle, leaning away from the canopy, so the pull of the guy line is fighting the stake's grip rather than working to pull it straight up out of the ground. On soft dirt, standard stakes are fine. On the hard clay you get on a lot of Ozark pads by midsummer, switch to a heavier stake or pre-punch the hole with a screwdriver, because a bent stake gives you false confidence. It looks staked and isn't holding anything.
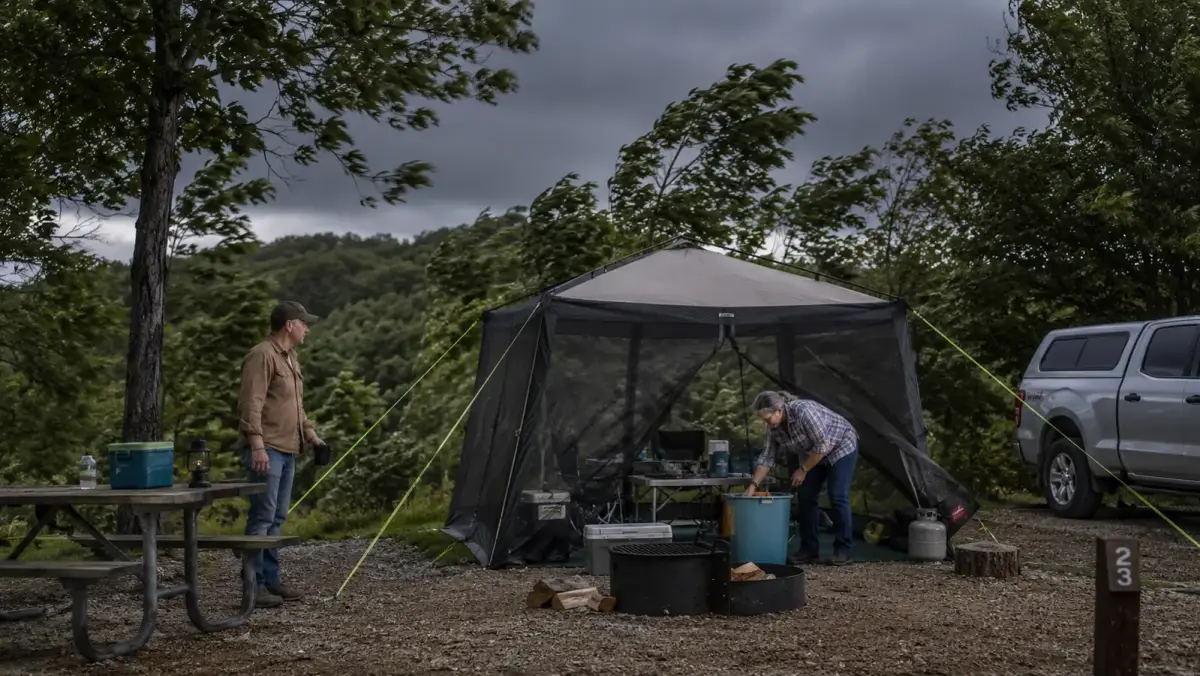
Then run the guy lines. Four corner guys minimum, tensioned so the line hums slightly when you flick it, not so loose it sags and not so tight it's bowing the frame. If wind is in the forecast or already picking up, add the extra guy points on the side panels too. This takes maybe five extra minutes over a bare pop-up, and it's the five minutes that decides whether your screen house is still standing, and still yours, when you get back from a hike or a trip to the bathhouse.
Go back and check the tension again after the first hour, and again the next morning. Guy lines made of nylon or poly cord stretch a little once they've taken a real load, and ground that felt firm when you drove a stake can loosen up after a dew-heavy night or a quick shower. I made a habit of giving every stake a light tug on my evening walk, mine included, because a stake that's worked halfway out of the ground still looks staked from three feet away, right up until the wind tests it.
Step 4: Hang the Netting and Weight the Base
With the frame staked and guyed, zip in the mosquito netting panels and roll up the door flaps you want open for airflow. Check that the netting hangs straight and isn't bunched at a seam. A bunched panel catches wind like a sail even when the frame underneath is solid.
If you're pitched on a gravel pad or a wooden platform where stakes won't bite, and I worked plenty of those, weight the base instead. Sandbags, water-filled leg weights, or even a few full water jugs looped through the corner straps will do the job. Don't skip this step just because you can't stake. A floorless canopy with an unweighted base on a hard pad is exactly as vulnerable as one that's simply unstaked.
Zip the doors most of the way shut even when you're inside, rather than leaving them tied wide open. A fully open doorway lets wind push straight through the screen house and load up the far wall, while a mostly zipped door with just enough gap to duck through keeps the pressure from building on one panel.
Step 5: Breaking Camp, the Fold-Down Technique That Actually Works
This is where I've watched grown adults lose their patience and just cram the frame into whatever shape fits, which stresses the fiberglass poles and shortens the life of the whole shelter. Pop-up screen houses don't fold flat, they fold by twisting, and once you know the motion it takes fifteen seconds instead of fifteen minutes.
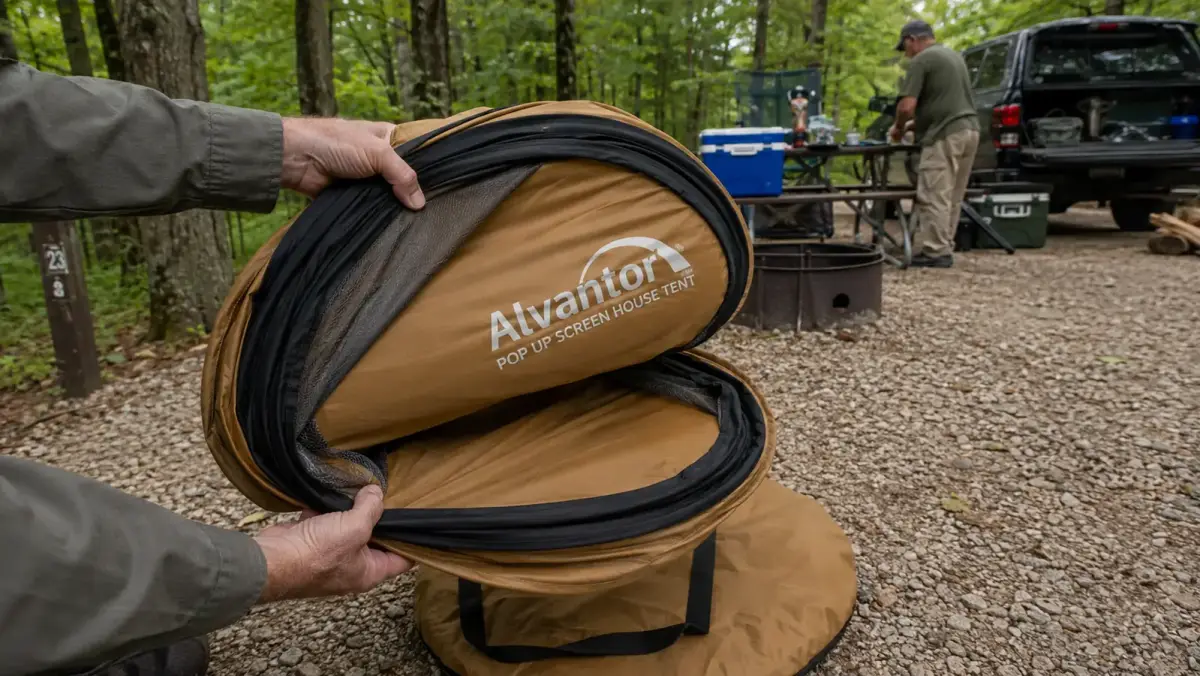
Start by releasing the guy lines and pulling every stake before you touch the frame itself. With the canopy free, find two opposing corners, most Alvantor style frames have a marked corner or a corner with a strap, and bring those two corners together and down toward the center, twisting the whole hoop like you're wringing out a towel. The frame wants to fold into a figure eight, two overlapping loops, not a flat circle. Fighting that twist is what makes people think the frame is broken.
Once you feel the two loops form, fold one loop on top of the other and the whole thing collapses down to roughly a third of its popped-up size. Get a hand or a knee on the center to hold the collapsed loops together while you slide it into the round carry bag, corner first. If it's fighting you, you likely haven't found the twist. Pull it back open partway and try the wringing motion again rather than forcing a flat fold. I've talked at least a dozen campers on my old loop through this exact motion at the end of a weekend, and every one of them had the same reaction once it clicked, that it was easier than they'd made it out to be.
Two people make this easier than one, but it's a solo job if you have to. If you're on your own, plant a knee on the ground at the center point the moment you feel the loops overlap, before you reach for the bag. That single pause is what separates a clean fold from a fight, because the second you let go of the twist to grab the bag with both hands, the frame will unwind itself and you're starting over.
What Else Helps
A rubber mallet beats a rock every time for driving stakes, and it's worth the extra half pound in your gear tote. A short length of paracord and a couple of spare stakes are cheap insurance if you lose one in tall grass, which happens more than you'd think when you're breaking camp in low light. And if you're setting up on a site with no obvious flat ten by ten, like a lot of the sloped pads I worked on Loop B, it's worth walking the whole site before you commit to a spot, because moving a staked and guyed screen house after the fact is a bigger job than finding the right spot the first time.
Check the forecast before you leave your own driveway, not just the morning you arrive. A screen house handles steady wind fine once it's staked and guyed the way I've described, but sustained gusts over 30 miles an hour are a different conversation, and on a night like that I'd rather see campers take the netting down and store the frame low than trust any stake job to hold a full canopy against it. That's not a knock on the gear, it's just what nine seasons of watching weather roll across an open loop taught me to respect.
And whenever you leave the site for more than an hour, whether that's a hike, a store run, or just the shower house, take thirty seconds to glance back at your stakes and guy lines before you go. It became a reflex for me on my evening walks, checking my own site along with the forty I was responsible for, and it's the single easiest way to catch a working-loose stake before the wind finds it for you.
I've pulled a runaway screen house out of a fire ring more times than I can count, and every single one of them had one thing in common. Nobody staked it before they walked away.
Ready to stop chasing your canopy across the campground?
The Alvantor Pop Up Screen House Tent pitches in under a minute and, staked and guyed the way I've laid out here, stays put through a real Ozark thunderstorm. Check today's price on Amazon before your next trip.
Amazon Check Today's Price on Amazon →